Click on Products from the admin menu on the left side of the page
On the product page there is a text field at the top of the page
Type the product name in the text box
To find the name of the product that the image corresponds to, refer to the file name of the image that you want to upload. In this example the product is hobe sound square tray.
Click on the product from the displayed search results
On the Product page locate the dropdown More actions
Left click on the dropdown More actions to open the dropdown and left click on Staging - Edits
This will open the oomph Draft Orders
Find the corresponding product variant from the options in the oomph Draft Orders
Refer to the file name of the product image for variant options
In the example above the Product is the Hobe Sound Square Tray, the product color is Bolero, and the Surface option is Linen
Find the product with those variant options
Click the Edit button on the right side of the product list
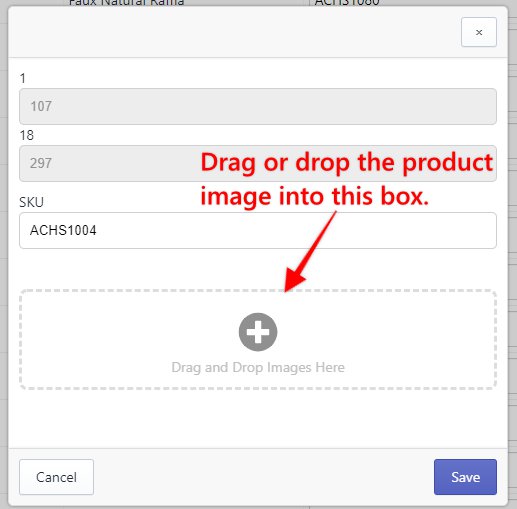
Add the product image by clicking the plus icon.
The image will be displayed under the SKU text box, like the example below
Verify that everything is correct
Then click on the Save button to complete the upload
The newly added image will be displayed in the Images column of the product
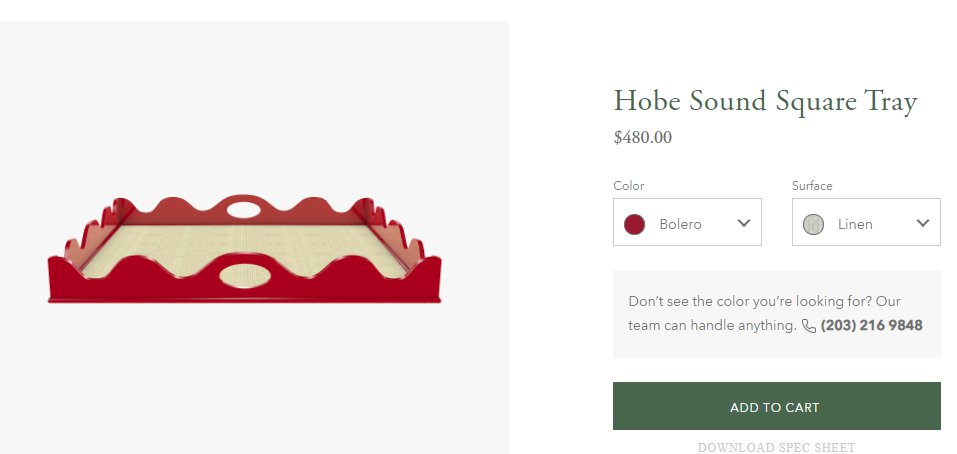
To verify that the image has been correctly uploaded, return to the product page and access the front end of the Shopify store by clicking the Preview link located on the product page
Then select the appropriate options from the dropdowns to display the new product image. In this example, select Bolero and Linen as the options.
-8c91bb463a5cd7484dca1f5beb52cfbe.png)
-6ec65b13acd337570bed57b02f246e32.png)
-31c67988f78dcc8398cacb2529d8ee56.png)
-ab499f7e61c97c76c0c98d6d496b8384.png)

-bef88f31cf3cc257a544aac27d5a1bac.png)
-fcfe7b5800be622a501d53b9c448682e.png)
-cb74d35838b03fbb3fe5f40b22ab6b89.png)