Oomph old import instructions_
Oomph old import instructions:
Oomph Product Import - Spring Iris-2 (Numbers)
Adding Products via Import
More often than not, you will want to add products via a product import.
*Here is a video tutorial for more specific information:
https://drive.google.com/file/d/1kwI_BEJQSFJIAH9_i61ZT3AWg2nLhLW8/view?usp=sharing\
To import products you will do the following:
+ Using the template found here, you will make a copy by clicking File > Make a Copy
+ Populate the spreadsheet with all of the necessary product information.
**Note: All required fields are highlighted in yellow.
+ If you are seeing any validation errors, this means a field either has formatting issues or that variant option does not yet exist in the Product Engine. Refer to the dropdowns for each column to see what acceptable inputs are for that column.

**Note: If you need to add a new variant option to the spreadsheet, reach out to the V+V team and they will add for you. Adding a variant option in the oomph Product Engine in Shopify will not automatically add that option within the spreadsheet.
+ To import the images you will first need to import them via AmazonS3.
+ Log in to https://aws.amazon.com/s3/
+ Click the oomphhome folder then the approved renders folder
+ Click “Upload”
+ Drag the renders from your computer and drop them into the upload prompt
+ Click Next > Under Manage Public Permissions be sure to change the dropdown to Grant Public Read Access to this Object(s) **This is vital or the image will not appear.
+ Continue clicking next and upload the images.
+ Once the images upload you will need to use a simple formula to get the image added to the Google Sheet.
+ You will then paste the following formula in the variant_image_one field:
="https://s3.amazonaws/oomphhome/Approved+Renders/"&A2&"-"&B2&"-"&C2&".png"
Replace B2 and C2 (highlighted above) with the most relevant columns ie. if lamp glaze and hardware would be K2 and J2. If you need to add additional columns simply add &”-”&D2 prior to the last &”.png”
**Note: This will only work if the render file format matches the required format which is:
Product Title-variant 1-variant 2-variant 3.png
The product title needs to match exactly what will be uploaded into Shopify and then the variant names need to match exactly what is listed in the import dropdown options.
+ Next simply drag that formula down to populate all other rows.
+ When all cells are populated click File > Export and export as a .csv
+ Navigate to “Apps” > “oomph Product Engine”
+ Click “Add New Product”
This can be done for a full product, or just to add one set of product options.
+ Click “Choose file” and choose the .csv file from your computer
+ Upload the completed .csv
+ If there are any errors you will see that information displayed on screen - update the errors prior to importing.
+ Once an error free import has been chosen it will begin the import process.
Please note depending on the number of line items that need to be imported this can take anywhere from 1-15 minutes or so. *You must leave the browser open and do not click back or the import will not finish.
+ Once the import completes, go to the admin > products and preview the product to ensure everything imported the way you would hope.
Uploading Images to Amazon S3
Variant images should be hosted on Amazon S3 and referenced via the SKU lookup in the product app. To upload an image to Amazon S3:
+ Visit https://aws.amazon.com/s3/
+ Click Sign In to Console > S3
+ Click oomphhome > Approved Assets folder
+ Click Upload - drag and drop or choose assets for upload.
+ Click Next > Under Manage Public Permissions use the dropdown and choose Grant Public Read Access. **This is important as if you do not set the image will not show on the site as it will be private.
+ Click next and upload
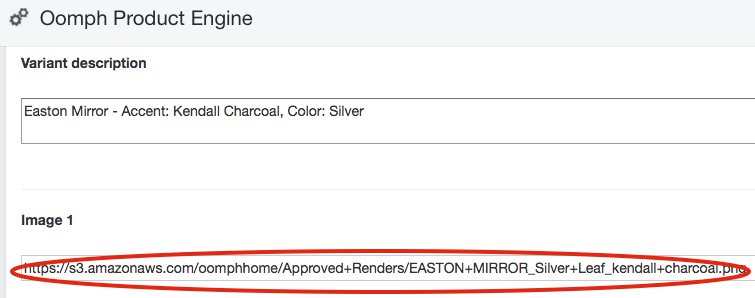
+ From there you can pull the URL starting with the https:// and ending with .png, which you will then drop into the Product app.
+ To access the Product app, you will navigate from Home > Apps.
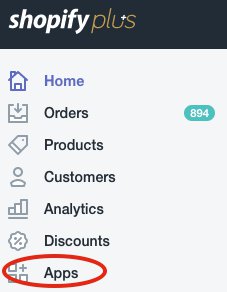
+ From here, travel to the oomph Product Engine.

+ Once inside the Product Engine, click into “View/Edit Associated SKU lookups” of the product whose image URL you want to edit/add.
-55a886d2a3bcbb3c8b1fcd1b7e80587c.bin)
+ Paste the URL pulled from Amazon S3 into the image field.
+ Be sure to click “Update SKU Lookup” for each individual product update to make sure your changes are saved and made live.
-17f83b7b88eb9fe9f15985b8a1277ec8.bin)