🌊 Hydration Collection
Shopify Admin Configuration
To get a hydration collection added, you will first need to create a collection in shopify that we can assign the hydration template to.
Navigate to your Shopify Admin Collections
Inside the admin, open up the product tab and select collections.
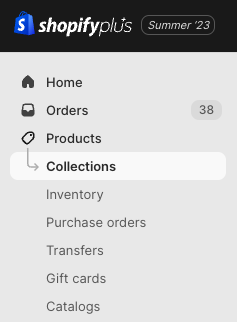
Location of the Product -> Collections Menu
Create Collection
Click the Create Collection Button to begin creating a new collection ( you can skip this step if a collection is already created for the hydration template )
Edit The New Collection
- Add a title
- Change the template to "hydration"
- Set Collection Type to Manual
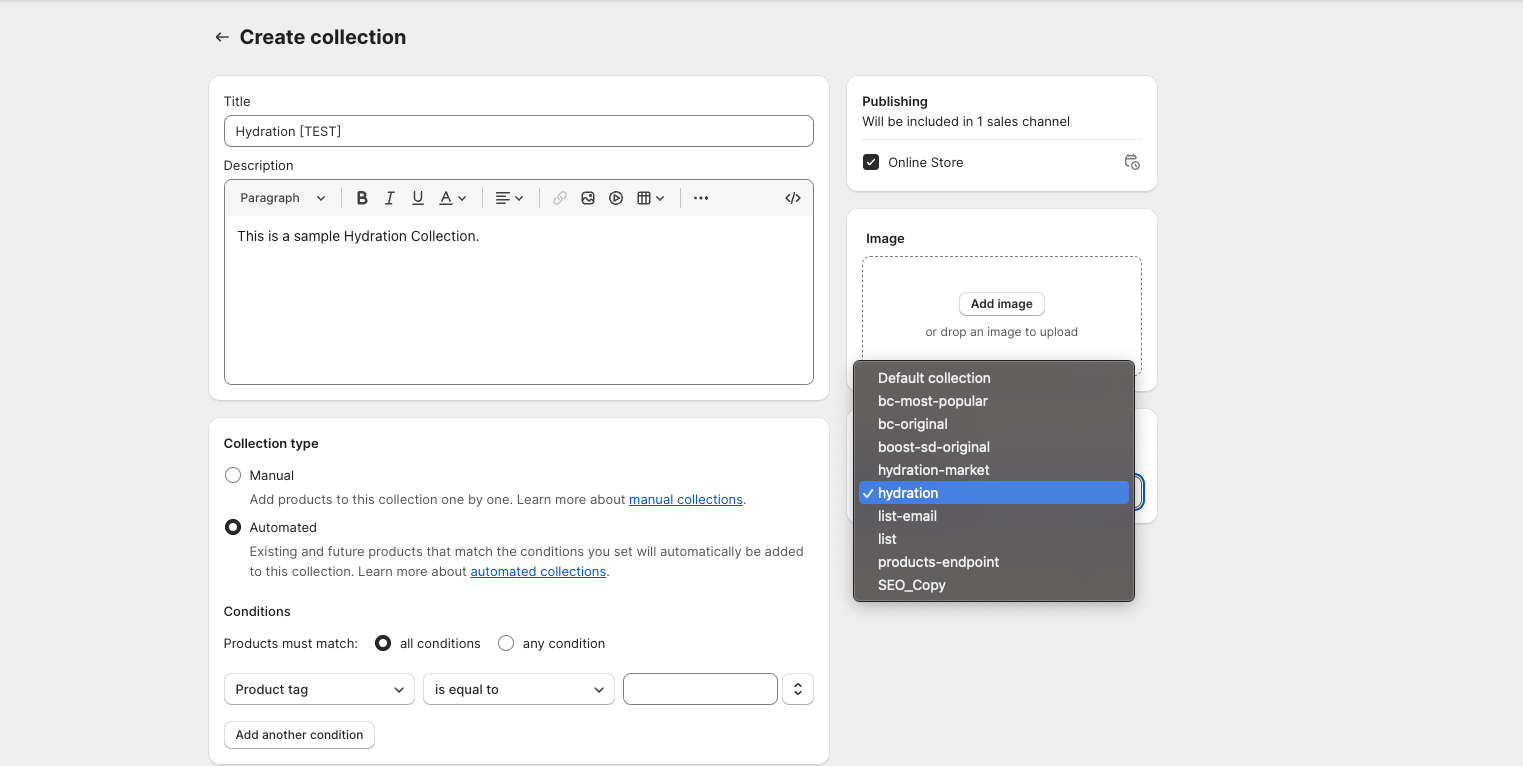
All fields filled out + Template dropdown selected. Notice that "Default collection" has been changed to "hydration"
Configure Layout In Theme Editor
With a new collection added, we can now modify the look of the collection inside the theme editor. To get started....
- Open Theme editor
- Select Collections
- Select hydration
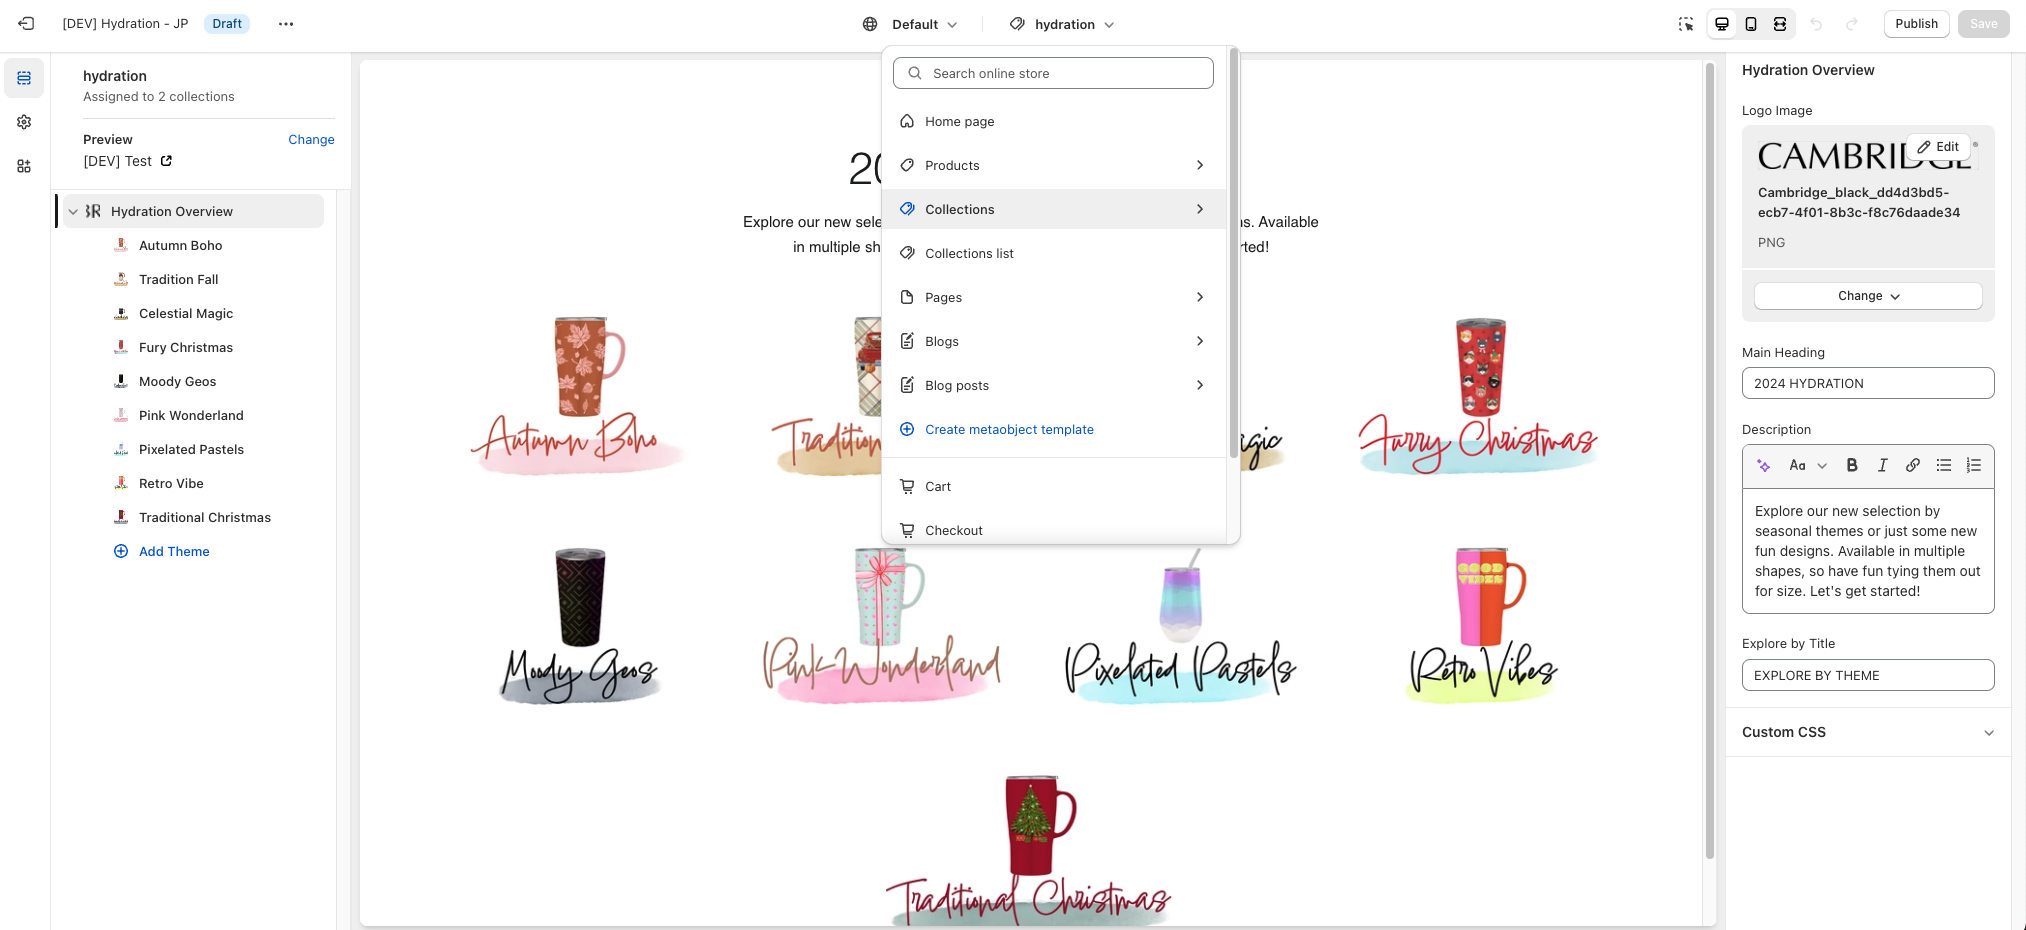
Clicking the dropdown, Navigating to Collections -> hydration
Hydration Overview Section
The Hydration Overview Section is what determines what is outputted for the collection content. To get started, configure the following settings...
Section Settings:
- Logo Image - The Image that will display at the top of the page ( figure a )
- Main Heading - The heading directly under the logo image ( figure b )
- Description - The custom description of the collection ( figure c )
- Explore by Title - The Title directly under the Collection description ( figure d )
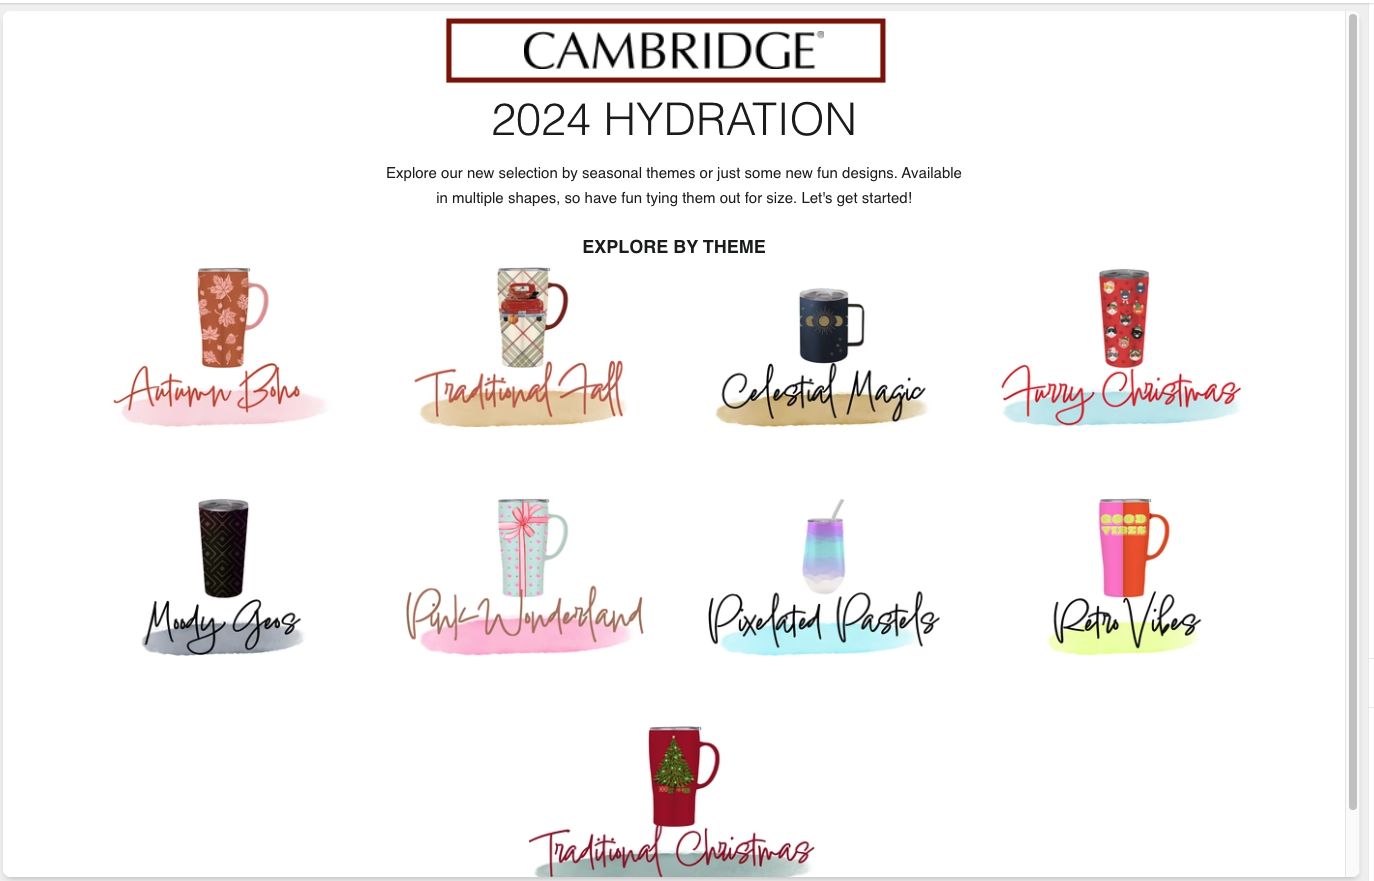
Figure a - Logo Image

Figure b - Main Heading
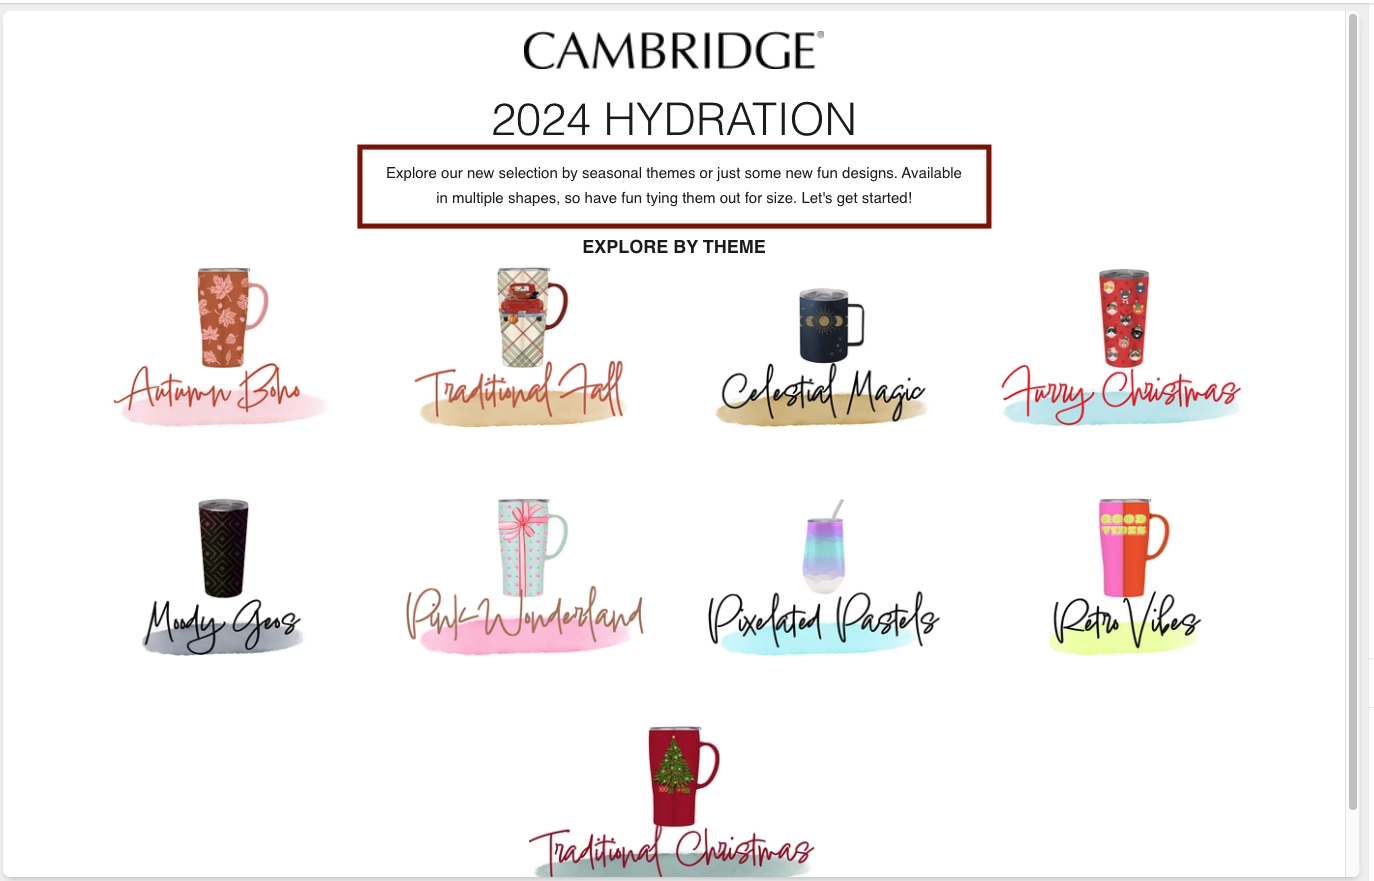
Figure c - Description
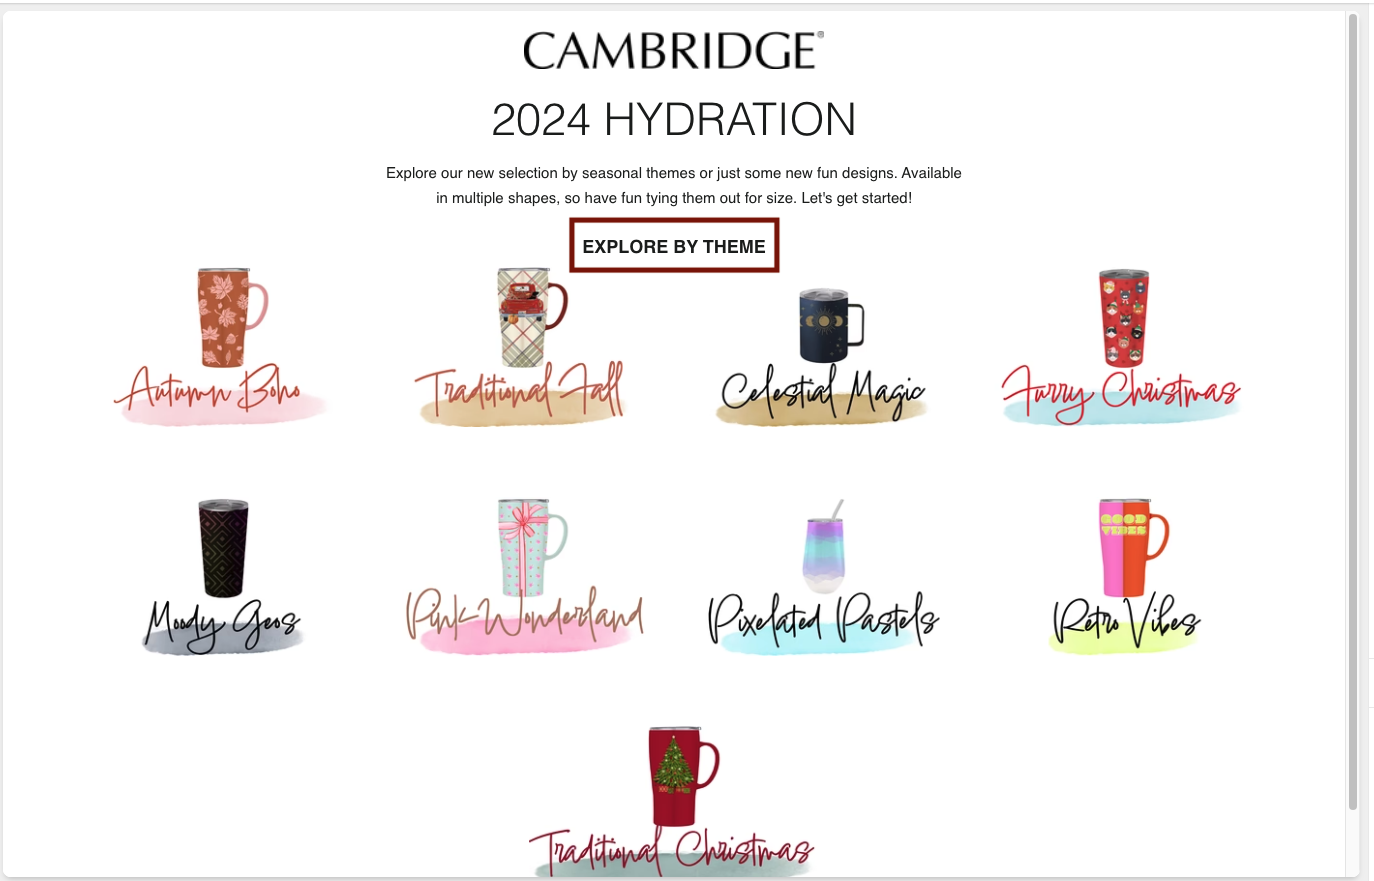
Figure d - Explore by Title
Section Blocks:
- Type: "Theme"
- Settings:
- Image - The Image for to display on the collection
- Title - The Title of the block ( Has no exterior functionality )
- Link - The product url that the collection block links to
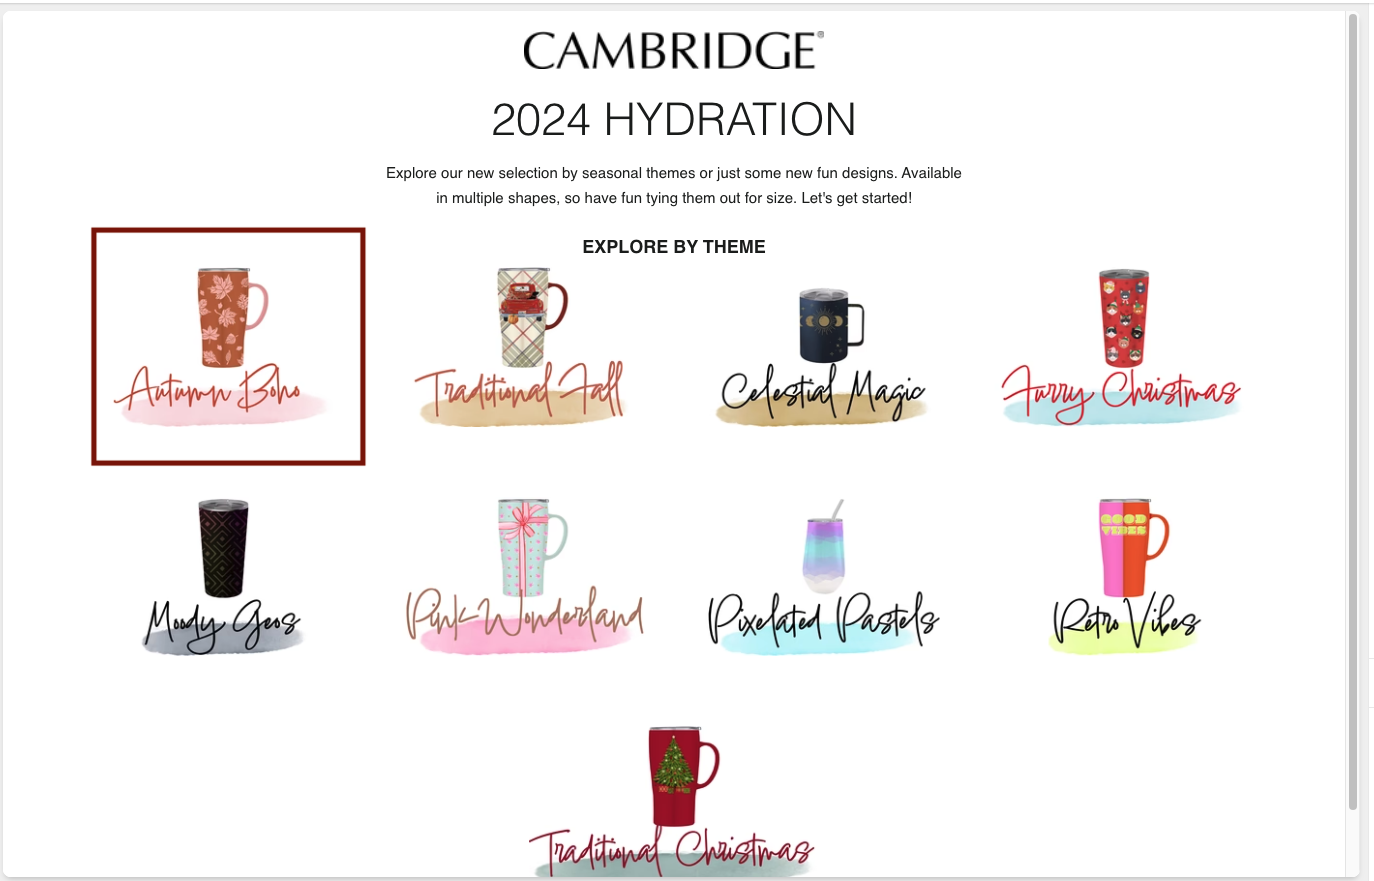 Block Content for "Theme"